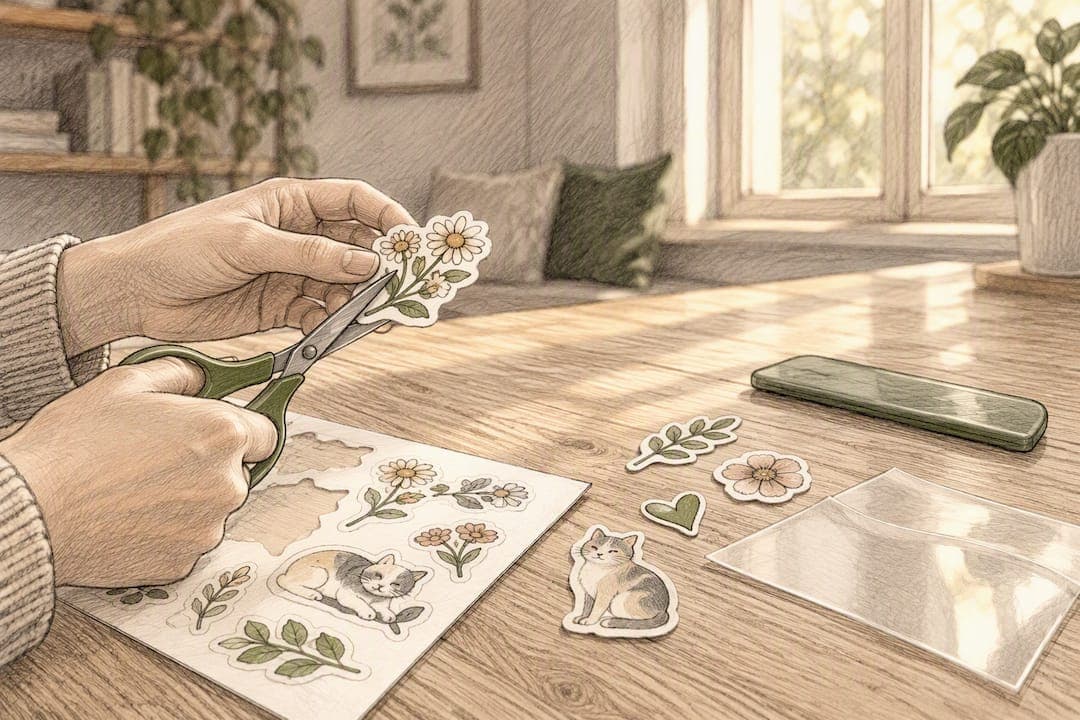
The fastest ways into sticker making right now are packing-tape DIY (about 10 minutes, no machine), print-then-cut with sticker paper or vinyl on a home cutter, and simple kid-friendly projects for classrooms or party tables. This guide walks through all three, plus materials, design prompts, and the finishing tricks that separate homemade stickers from professional-looking ones. For layout and application advice once your stickers are finished, Sincerelyskye's placement guide is worth a look too.
TL;DR:
- Homemade stickers made with tape or parchment can be finished quickly and inexpensively, with burnishing and drying as key steps for a clear finish.
- Print-then-cut machines improve precision and scalability, especially for die-cut or kiss-cut sticker sheets, but are not necessary for small batches.
- Popular themes for 2026 include retro Y2K styles, pet and quote stickers, and designs with halftone textures, grouped by cohesive color schemes and motifs.
- Material choices depend on sticker placement, with printable vinyl and laminate offering weather resistance and durability for outdoor or frequent use.
- Small finishing habits, like proper drying and border leaving, greatly impact the professional appearance of homemade stickers.
Table of Contents
- Six Quick Sticker Projects You Can Finish Today
- How Print-Then-Cut Turns Home Prints Into Pro Sticker Sheets
- 30 Sticker Design Ideas Grouped by Theme
- Choosing the Right Paper, Vinyl, or Laminate
- Finishing Tricks That Make DIY Stickers Look Store-Bought
- What to Do With Your Finished Stickers
- Skye's Perspective: The Details Nobody Talks About
- Shop Sincerely Skye's Craft-Themed Sticker Packs
- Sources
- FAQ
Six Quick Sticker Projects You Can Finish Today
You don't need a cutting machine to make good stickers. Clear packing tape, parchment paper, and a marker will get you a finished glossy sticker in about 10 minutes, start to finish. Here are six projects worth trying, ranked from fastest to most involved.
- Packing-tape glossy stickers. Draw or print your design, lay a strip of clear packing tape over it, press out air bubbles, then trim close to the ink line with scissors. Peel the paper backing off the back for a see-through sticker, or leave it opaque for a punchier look. Best for one-off gifts, lunch box notes, or testing a design before committing to a full sheet.
- Parchment peel-off sheets. For sticker sheets you can actually peel and stick later, press your tape-covered, cut design onto parchment paper instead of tossing the backing. Parchment's slick coating keeps the adhesive from bonding permanently, so the sticker lifts clean when you're ready to use it. This is the closest machine-free method gets to a real store-bought peel sheet.
- Sticker puppets. Cut simple shapes (animals, faces, monsters) from cardstock, tape both sides, and attach a craft stick or straw. Great for ages 4 and up, with light adult supervision around the scissors.
- Sticker bracelets. Wrap a strip of packing tape sticky-side-out around a wrist, then press small paper cutouts or sequins onto it for an instant kid-made accessory. Ten minutes, zero mess, perfect for birthday parties.
- Sticker resist art. Stick shapes onto paper before painting over the whole page with watercolor, then peel the stickers off once dry to reveal the untouched design underneath. A classic classroom activity that teaches planning without feeling like a lesson.
- Sticker-wrapped gifts. Skip wrapping paper entirely and cover a small box in overlapping handmade stickers for a wrapping job that doubles as the present's decoration.
Pro Tip: Burnish every layer of tape with the back of a spoon or an old gift card for a full 10 seconds before you cut. Skipping this step is the number one reason homemade stickers end up cloudy or bubbled instead of glassy and clear.
How Print-Then-Cut Turns Home Prints Into Pro Sticker Sheets
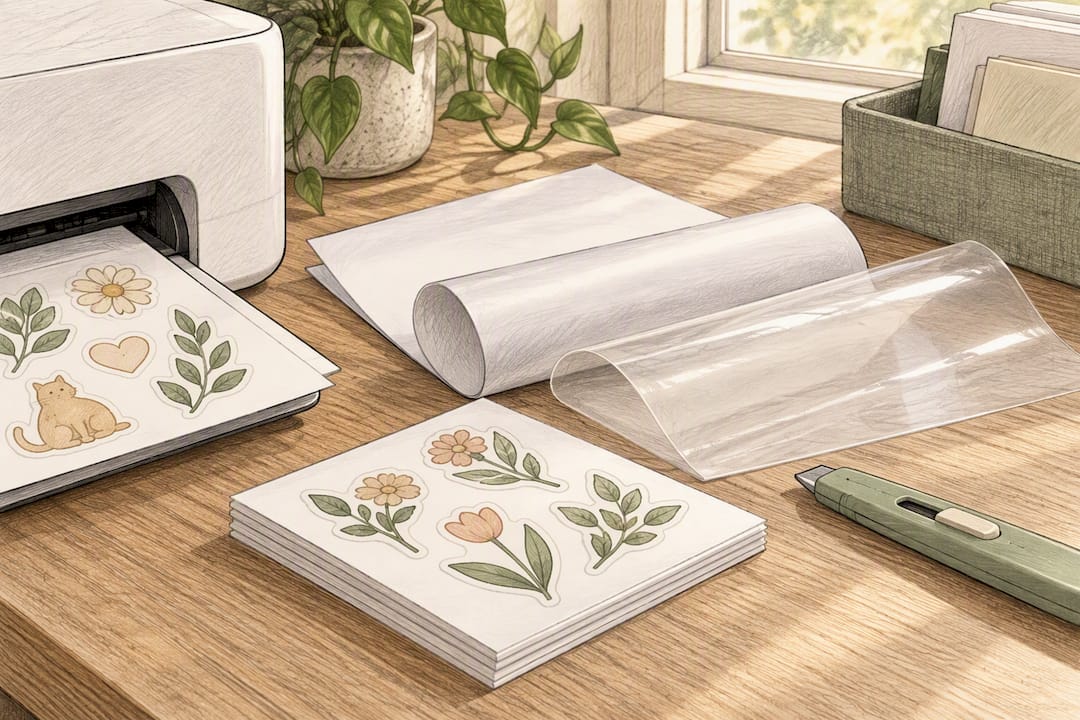
Once you outgrow scissors and tape, a home cutting machine changes what's possible. Cricut's Print-Then-Cut workflow is built for exactly this: you design a sheet in software, print it on your own printer, and the machine reads registration marks on the page to cut precisely around each shape.
The basic sequence looks like this:
- Design your sticker sheet with enough bleed around each shape so nothing gets clipped.
- Print on sticker paper or printable vinyl, making sure your printer is set to the right paper type.
- Let the ink dry fully. Prints can look dry to the touch within minutes, but manufacturers recommend waiting longer before laminating or cutting to avoid smearing or adhesive failure.
- Load the sheet on the machine's mat, let the sensor find the registration marks, and cut.
Two cut styles matter here. Kiss-cut slices through the sticker layer but leaves the paper backing intact, which is why it's the standard for planner sheets and sticker packs where the whole page stays together until you peel one off. Die-cut slices all the way through both the sticker and its backing, producing individual stickers ready to separate and hand out or package one at a time.
For materials, keep a short shopping list: printable sticker paper for indoor use, printable vinyl for anything that needs to survive weather or washing, and a laminate sheet if you want extra scratch resistance. Match your printer type (inkjet versus laser) to the sticker paper you buy, since some coatings only work with one or the other. If a design comes out crooked or the machine skips shapes, check that the registration marks printed cleanly and that the mat's stickiness hasn't worn down from overuse.
30 Sticker Design Ideas Grouped by Theme
Staring at a blank page is the actual hard part of sticker making, not the cutting or the printing. Pulling ideas from a theme list speeds that up considerably, and Adobe Express's sticker idea library is a solid place to browse for inspiration before you start sketching.
- Cute and kawaii. A smiling boba cup with a straw, a blushing avocado half, a sleepy cat curled into a circle, a strawberry with a tiny face, a cloud with closed eyes.
- Retro and Y2K. A cassette tape with a halftone texture, a chunky flip phone, a checkerboard heart, a lava lamp, bubble letters spelling a short phrase.
- Plants and nature. A monstera leaf, a terracotta pot with a cactus, a single wildflower stem, a mushroom cluster, a moon phase chart.
- Food icons. A slice of pizza, a coffee cup with steam lines, a stack of pancakes, a taco, a donut with sprinkles.
- Planner and label sets. "To Do," "Done," a small calendar box, a washi-tape strip graphic, a simple checkmark icon.
- Hobby-themed packs. A sewing needle and thread, a paintbrush with a color splash, a knitting needle bundle, a camera icon, a book stack.
- Humor and quote stickers. Short, punchy lines paired with a simple icon work better than long text blocks that get lost at sticker size.
- Seasonal packs. A carved pumpkin, a snowflake cluster, a heart wreath for winter holidays, a sun with sunglasses for summer.
For 2026, trend roundups from print-on-demand sites point to retro Y2K graphics, bookish quote stickers, and pet-themed designs as the categories receiving the most attention, alongside die-cut vinyl stickers built to survive water bottles and laptop lids.
Whatever theme you pick, a cohesive sheet comes down to three things: a shared color palette (pick three to five colors and stick to them), consistent scale (don't mix tiny icons with oversized ones on the same sheet), and one repeated motif, like a border shape or a texture, that ties everything together. Applying a halftone texture across an otherwise mismatched batch of designs is a fast way to make them look like a set instead of a grab bag.
Choosing the Right Paper, Vinyl, or Laminate
Material choice depends entirely on where the sticker is going to live.
- Standard sticker paper works fine for planners, notebooks, and cards that stay indoors and dry.
- Printable vinyl is the better call for water bottles, laptops, and anything that gets handled or washed regularly, since it resists moisture and doesn't tear the way paper does.
- Laminate sheets add a protective layer over either material, extending durability for stickers going on car windows or outdoor gear. For a full breakdown of when waterproofing actually matters, Sincerelyskye's guide to waterproof stickers covers the details.
- Matte finishes hide fingerprints and read as more modern or minimalist, while glossy finishes make colors pop and feel closer to traditional sticker-pack shine. A side-by-side comparison can help if you're torn between the two for a specific project.
If you're just experimenting, buy a small pack of basic sticker paper and test your designs before investing in vinyl by the roll. Once you know a design sells or gets used consistently, upgrading to more durable materials for small-batch production can make more sense financially than guessing upfront.
Finishing Tricks That Make DIY Stickers Look Store-Bought
Small workflow habits make a bigger difference than expensive supplies.
- Burnish every layer of tape or laminate with a spoon or gift card for at least 10 seconds. This pushes out trapped air and is the single biggest factor in getting a clear, bubble-free finish on the packing-tape method.
- Give ink real drying time, not just surface-dry time, before laminating or cutting anything you printed at home. Rushing this step is the most common cause of smudged lines and stickers that peel unevenly.
- Use the parchment paper trick for true peel-off sheets: press your finished, double-sided-tape-backed sticker onto parchment instead of regular paper, and it lifts clean when you're ready to use it.
- Keep text and thin strokes larger than you think you need. Fine details that look fine on screen often disappear or blur once a design shrinks down to sticker size, so leave a thin border around every shape for clean cutting and sealing.
- Store finished stickers flat in acid-free envelopes or resealable plastic bags, away from direct sunlight, to keep colors from fading before you use or gift them.
Pro Tip: If you're designing digitally, test-print at 50 to 75 percent of the final size before running a full batch. It's the fastest way to catch details that will vanish once the sticker shrinks down.
What to Do With Your Finished Stickers
A finished batch of stickers is only useful once you have somewhere to put it. The obvious spots are planners, laptops, and water bottles, but stickers pull double duty in a few less obvious places too.
- Party favors and craft tables for kids, where a sticker sheet costs almost nothing and keeps hands busy.
- Craft-fair packaging inserts, tucked into a bag or taped to the back of a card as a small bonus that makes a purchase feel more finished. For more on presentation at fairs and markets, Sincerelyskye's craft show tips cover display and bundling strategies that apply to stickers just as well as apparel.
- Low-cost freebies bundled with a bigger purchase, or small sample packs sold on their own as an entry-level product for new customers testing out your work.
Skye's Perspective: The Details Nobody Talks About
Here's what most sticker tutorials skip: the difference between an amateur-looking sticker and one that feels professionally made almost never comes down to the drawing itself. It comes down to whether you burnished long enough, whether the ink actually dried, and whether you left enough border around the edge for a clean seal. Those three habits cost nothing and take an extra minute, yet they're the part everyone rushes past to get to the "fun" step of cutting.
If you want to go deeper on finishing, read through the placement and residue-removal guides on the Sincerelyskye blog once you've made your first batch. Good stickers aren't about better markers. They're about slowing down for the boring parts.
— Skye
Shop Sincerely Skye's Craft-Themed Sticker Packs
If you'd rather skip the tape and burnishing entirely, Sincerely Skye sells ready-made craft-themed stickers designed by a fellow crafter, alongside seasonal packs and matching apparel that fit the same whimsical, vintage-inspired aesthetic covered in this guide.
The Sincerely Crafters collection is built for makers who want sticker packs and craft-inspired merch without designing a sheet from scratch, and it works well as a craft-fair bundle add-on, a gift topper, or a quick sample pack to hand out at a market table. Browse the full shop to see current sticker packs and seasonal collections, and pick up a pack to see how a finished, professionally cut sheet compares to your homemade batch.
Sources
- How to Make Stickers Homemade with Tape & Parchment
- How to Make Stickers with Cricut
- 43 Custom sticker ideas (2026) - Printful
- 56 Creative Sticker Ideas to Make With Adobe Express
- How to make halftone effect for printing
FAQ
What Are Some Creative Ideas for Making Stickers?
Kawaii food characters, retro Y2K graphics with halftone texture, planner label sets, and hand-drawn quote stickers all work well for a first batch. Start with bold outlines and simple shapes, since detailed designs cut and peel less cleanly than simpler ones at sticker size.
What Are Some Cool Ideas for Stickers?
Cassette tapes with halftone shading, moon phase charts, and checkerboard hearts all lean into the retro look that's trending going into 2026, according to Printful's theme roundup. Pet portraits and short humorous quotes paired with a simple icon are also popular, low-effort options for a first sheet.
What Are Some Things I Can Make as Stickers?
Almost anything flat and simple translates well: doodles, photos, hand lettering, pressed flower scans, or icons pulled from a design tool like Adobe Express. Stick to bold shapes and avoid tiny text, since fine details tend to blur once a design shrinks to sticker size.
What Are the Sticker Trends for 2026?
Retro Y2K graphics, bookish quote stickers, and pet-themed designs are among the most popular categories going into 2026, alongside durable die-cut vinyl stickers built for water bottles and laptops. Halftone and vintage texture effects are also showing up across otherwise unrelated designs to give sticker packs a unified look.
Do I Need a Cutting Machine to Make Good Stickers?
No. The packing-tape and parchment method produces a finished glossy sticker in about 10 minutes with no machine required. A cutting machine like Cricut's Print-Then-Cut workflow simply speeds up precision and volume once you're making sheets regularly.