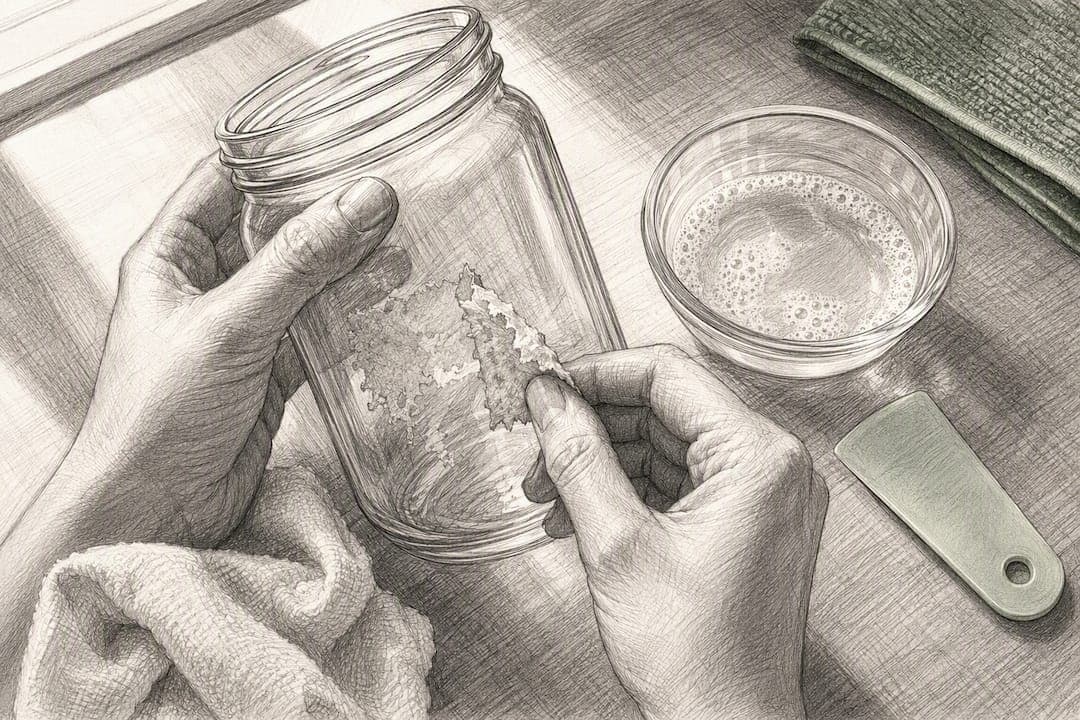
Warm soapy water is your first move on any surface, followed by rubbing alcohol on glass and metal or vegetable oil on plastic once the mild option fails. Skip acetone on plastics and skip metal blades on anything but glass. Electronics need a barely damp cloth and zero soaking. Everything else in this guide is just the surface-by-surface version of that same rule.
TL;DR:
- Rubbing alcohol, vinegar, or vegetable oil are effective next steps after soap and water for removing sticker residue on most surfaces, depending on the material.
- Using a razor blade on flat, thick glass is safe when held parallel, but avoid scratching textured or curved glass to prevent damage.
- Acetone and nail polish remover can damage plastics like ABS and polycarbonate, so testing and alternative methods should be prioritized to avoid clouding or melting.
- For metal surfaces, rubbing alcohol or WD-40 work well, but stainless steel must be wiped with the grain to prevent swirl marks, and soaking is never recommended.
- Always perform a spot-test before using solvents, ventilate spaces, and avoid mixing chemicals to prevent surface damage and hazardous fumes.
Table of Contents
- What's the Fastest Way to Remove Sticker Residue?
- Surface-by-Surface: How to Remove Sticker Residue Without Damage
- What You Need in a Sticker Residue Removal Kit
- How Do You Spot-Test Before Using a Solvent?
- Sincerely Skye Tips for Sticker Care and Removal
- Finishing Up: Wash, Dry, and Inspect
- What Should You Do With Leftover Solvents and Sticker Debris?
- Why Most Sticker Advice Skips the Part That Matters
- Sources
What's the Fastest Way to Remove Sticker Residue?
Cleaning pros consistently recommend the same order of operations, and it works because each step risks a little more damage than the last. Start with what can't hurt anything, and only reach for stronger stuff when it's actually needed.
Here's the escalation order, best method first:
- Warm soapy water: works on painted surfaces, most plastics, and glass; costs nothing and damages nothing.
- Oil, vinegar, or rubbing alcohol: pick based on material. Alcohol excels on glass, metal, and stainless steel, oil works well on plastic and metal, and vinegar is the safer bet on fabric and delicate finishes.
- Heat from a hair dryer: softens stubborn adhesive on hard surfaces so it lifts in one piece instead of shredding.
- Commercial adhesive remover: products like Goo Gone or Goof Off break down tough residue fast, but always wash the surface afterward.
- Mechanical scraping: a plastic scraper or old credit card for most jobs, a razor blade only on flat glass.
Cleaning experts who tested this exact sequence found it minimizes the risk of scratching, clouding, or staining compared to jumping straight to solvents. In fact, testing at The Kitchn found that simple household staples like a vinegar soak or a few minutes with a hair dryer beat several novelty hacks people swear by online, including peanut butter and mayonnaise.
A few safety basics apply no matter which rung of the ladder you're on. Spot-test any solvent on a hidden corner first. Crack a window if you're using rubbing alcohol or a commercial remover indoors. And never let liquid pool near an electronic device's ports, speakers, or seams, even if the label says "safe for electronics."
Pro Tip: Keep a small tin of cooking oil wipes or a travel bottle of rubbing alcohol near your craft desk. Half the frustration of sticker residue comes from not having anything on hand when you notice it, so you end up scraping with your fingernail instead.
Surface-by-Surface: How to Remove Sticker Residue Without Damage
Different materials call for genuinely different tactics, not just "the same method, gentler." Here's what actually works on each one.
Glass
Glass tolerates almost anything, which makes it the easiest surface on this list. Soak the item in warm soapy water for 10 to 15 minutes if it's small enough, or press a soap-soaked cloth against the residue if it isn't. If the glue is still stubborn, rubbing alcohol applied with a cotton ball dissolves most sticker adhesive within a minute or two.
For thick, gunky residue on flat glass only, a razor blade held nearly parallel to the surface will scrape it off cleanly. Keep the blade flat, never dig in at an angle, and never use this trick on curved glass or anything textured. Finish with a standard glass cleaner to erase streaks.
Plastic
Plastic is where people do the most damage, usually because they grab the same solvent that worked on glass. Start with soap and water, then move to vegetable oil or white vinegar rubbed in with a cloth and left for a few minutes. A plastic scraper or the edge of an old credit card lifts the loosened glue without scratching.
Test rubbing alcohol on a hidden spot before using it broadly, and avoid acetone entirely. Acetone and other nail-polish-remover style solvents can cloud, craze, or even melt common plastics like ABS, acrylic, and polycarbonate. That includes plenty of storage bins, appliance panels, and toy parts.
Metal and Stainless Steel
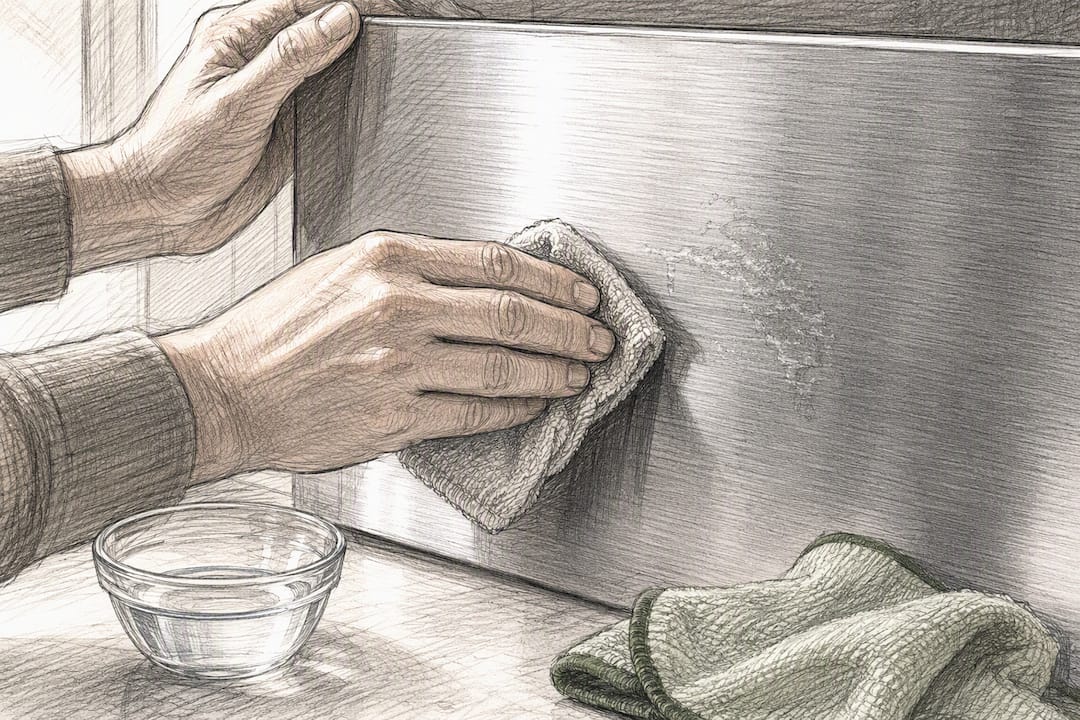
Rubbing alcohol or a light spray of WD-40 handles most metal surfaces well. Apply, let it sit for a minute, then wipe with a cloth and wash the area with soap and water afterward so no oily film remains.
Stainless steel needs one extra rule: wipe with the grain, not against it. The faint brushed lines you see on a stainless appliance or water bottle are the grain, and wiping across them instead of along them leaves visible swirl marks that don't buff out easily. Apply solvent to the cloth, not the panel itself. Never soak a stainless surface or scrub it with steel wool.
Wood
Wood is unforgiving because it's porous, and porous materials absorb whatever you put on them. On sealed or finished wood, warm soapy water or a little white vinegar on a cloth usually lifts residue safely. A hair dryer on low heat can soften the glue enough to peel it off without any liquid at all.
Skip oil-based removers on unfinished or raw wood since the wood will simply soak up the oil and leave a permanent dark blotch. If residue survives everything else, a very light pass with fine sandpaper is the last resort, followed by matching stain or sealant to blend the spot.
Fabric and Clothing
Treat the stain before it goes anywhere near the washing machine. White vinegar or rubbing alcohol dabbed directly onto the residue and left for several minutes usually breaks the bond enough to scrape or pick it off with a fingernail or old card. Avoid oil-based removers on clothing entirely. They tend to leave a grease stain that's harder to deal with than the sticker glue ever was.
Once the residue is gone, wash the item separately from other laundry and air-dry it rather than tossing it in the dryer. Heat can set any leftover trace of adhesive permanently. If a faint mark remains after drying, treat it again before it goes through a second wash cycle.
Electronics
This is the one surface where "less is more" isn't a suggestion, it's a rule. Power the device off completely and unplug it. Dampen a microfiber cloth with water, or with a very small amount of isopropyl alcohol if the manufacturer's cleaning guidance allows it, and wring it out until it's barely damp.
Never spray liquid directly onto a screen, keyboard, or housing, and never let anything pool near ports, seams, or speaker grilles. Skip the hair dryer here too. Heat near a laptop hinge or phone case can warp plastic or loosen internal adhesive you actually want to stay put. A plastic card is the safest way to lift a lifted sticker edge without gouging the casing.
Painted Walls, Wallpaper, and Other Large or Porous Surfaces
Textured and painted surfaces are trickier because you can't scrub hard without lifting paint along with the glue. A cloth dampened with warm soapy water, dabbed rather than scrubbed, is the safest starting point. For stubborn spots, a small amount of white vinegar on a soft cloth can work, but always spot-test in a low-visibility corner first since some paints react to acid.
For submersible glass items like jars or bottles, a warm water soak with washing soda (sodium carbonate) loosens adhesive fast and is a gentler option than acetone for anything that touches food. Rinse thoroughly afterward. For structural surfaces like cabinets, doors, or large painted walls, a surface-specific cleaning approach matters more than brute force, and calling in a pro is worth it if you're dealing with a finish you can't easily repair.
What You Need in a Sticker Residue Removal Kit
You don't need anything exotic. Most of this is already in your kitchen or bathroom cabinet.
- Dish soap and warm water
- Rubbing alcohol, 70% or higher concentration
- White vinegar
- Vegetable or baby oil
- Microfiber cloths and cotton swabs
- A plastic scraper or an old, expired gift card
- A hair dryer
- Baking soda, for making a paste
For a homemade paste that handles stubborn spots on plastic or metal, mix baking soda with a few drops of oil until it forms a thick spread. Rub it directly onto the residue, let it sit for five minutes, then wipe clean. For submersible glass or ceramic items, a washing soda soak in warm water works faster than scrubbing and is gentler than acetone.
Skip metal scrapers on almost everything. A melamine foam sponge actually outperforms solvents on old, baked-on residue in a lot of cases, since the fine abrasive texture grinds it away without any liquid. Save the razor blade for flat glass only.
How Do You Spot-Test Before Using a Solvent?
Dab a small amount of your chosen solvent onto a hidden section of the surface, wait about a minute, then check for dulling, clouding, or any color shift. If the spot looks different from the surrounding area, stop and switch to a gentler method instead.
Ventilate the room whenever you're using rubbing alcohol, a commercial remover, or anything with a strong chemical smell, and wear gloves if you have sensitive skin. Never mix cleaning products together, especially anything containing bleach or ammonia, since combining them can produce dangerous fumes. Keep every liquid well clear of device ports, speaker grilles, and charging ports.
A short list of combinations to avoid entirely: no acetone on plastics, no cooking oil on unfinished wood or most fabrics, and no steel wool or abrasive scrubbers on glass or coated stainless steel. Each of these pairings causes damage that's often permanent, not just cosmetic.
Sincerely Skye Tips for Sticker Care and Removal
Craft supplies deserve a gentler hand than an old parking permit stuck to a bumper. On mugs, a warm soapy soak lifts most residue without harming the glaze. On apparel, always treat before washing rather than after, since heat from the dryer bonds leftover adhesive to fabric fibers.
If you're planning where a sticker goes rather than cleaning one up, a little foresight saves the cleanup later. Our guide to sticker placement ideas covers where adhesive lifts cleanly versus where it tends to leave a shadow behind. Choosing between matte and glossy finishes also affects how easily a sticker peels later without tearing or residue.
Finishing Up: Wash, Dry, and Inspect
Once the sticker is gone, don't stop at "the glue is off." Rinse away any leftover soap, oil, or solvent film with plain water and dry the surface completely with a clean cloth. Glass and metal benefit from a final buff to erase streaks, and wood that's lost some shine during the process can take a light coat of furniture wax or oil to restore its finish.
For clothing, rewash the treated area separately from your regular laundry load and air-dry it instead of using the dryer. If a shadow of adhesive remains after it dries, treat it once more before running it through a second cycle. Our graphic tee washing guide covers how to keep prints intact through repeated washes.
Before calling the job done, run your fingers over the spot and check it under good light. You're looking for haze on glass, a rough patch on metal, or a faint discoloration on fabric or wood. Catching it now is easier than fixing it after the surface has fully dried and set.
What Should You Do With Leftover Solvents and Sticker Debris?
Small amounts of rubbing alcohol or vinegar used for household cleaning can go down the drain with plenty of running water, since both break down naturally and aren't classified as hazardous household waste in typical residential use. Commercial adhesive removers are a different story. Products containing petroleum distillates or strong solvents should never be poured down a sink or into the trash in bulk. Check your container's label and your local municipal waste guidelines, since many cities have specific drop-off sites for household chemicals.
Peeled-off sticker backing, paper labels, and scraped adhesive bits are generally fine in regular trash, though vinyl stickers and their backing film usually aren't recyclable through curbside programs because of the adhesive layer contaminating the paper or plastic stream. If you're working through a big batch of jars or containers for reuse, rinse them well before recycling so no lingering oil or soap residue ends up in the recycling bin.
Buy only what you need for the job at hand. Using small amounts of rubbing alcohol or commercial remover can be effective for most household sticker jobs and avoids excess solvent left unused for long periods.
Why Most Sticker Advice Skips the Part That Matters
Most guides treat sticker removal like a single technique looking for a universal answer, when the actual skill is knowing when to stop escalating. The research backs this up clearly: professionals recommend gentle-first sequencing specifically because the risk of damage rises with every step up, not because soap and water is somehow inferior to a chemical remover.
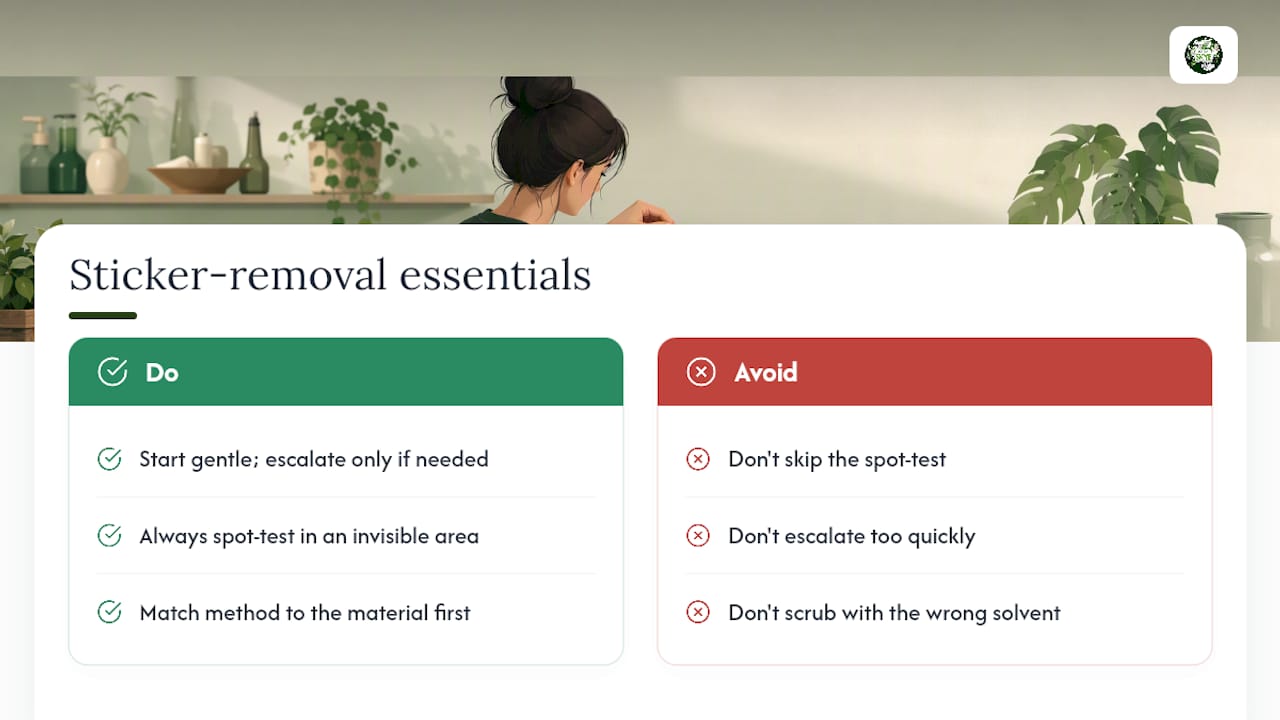
The overlooked advice, in my view, is the spot-test. People skip it constantly because it feels like an extra step for something as small as a sticker. But clouding on a plastic bin or swirl marks on stainless steel are far more annoying to live with than five extra minutes of testing would have been.
If you take one thing from this guide, let it be this: match the method to the material before you match it to the stubbornness of the glue. A determined scrub with the wrong solvent does more lasting harm than a patient soak with the right one ever will.
— Skye
Craft projects come with their fair share of sticky situations, literally. If you're stocking up on supplies that are built to handle glitter, glue, and everything in between, browse the Sincerely Skye shop for apparel and accessories made for makers who get their hands messy on purpose.
Sources
- Everything you need to know about sticker removal — Popular Mechanics
- How to Remove Stickers and Adhesive — Lifehacker
- How to Remove Sticker Residue from Clothes, Glass, Plastic, Metal and More — CRC Industries
- We Tried 7 Tricks for Removing Sticky Stickers (and Residue) Off of Dishes, and the Winner Took Zero Effort — The Kitchn