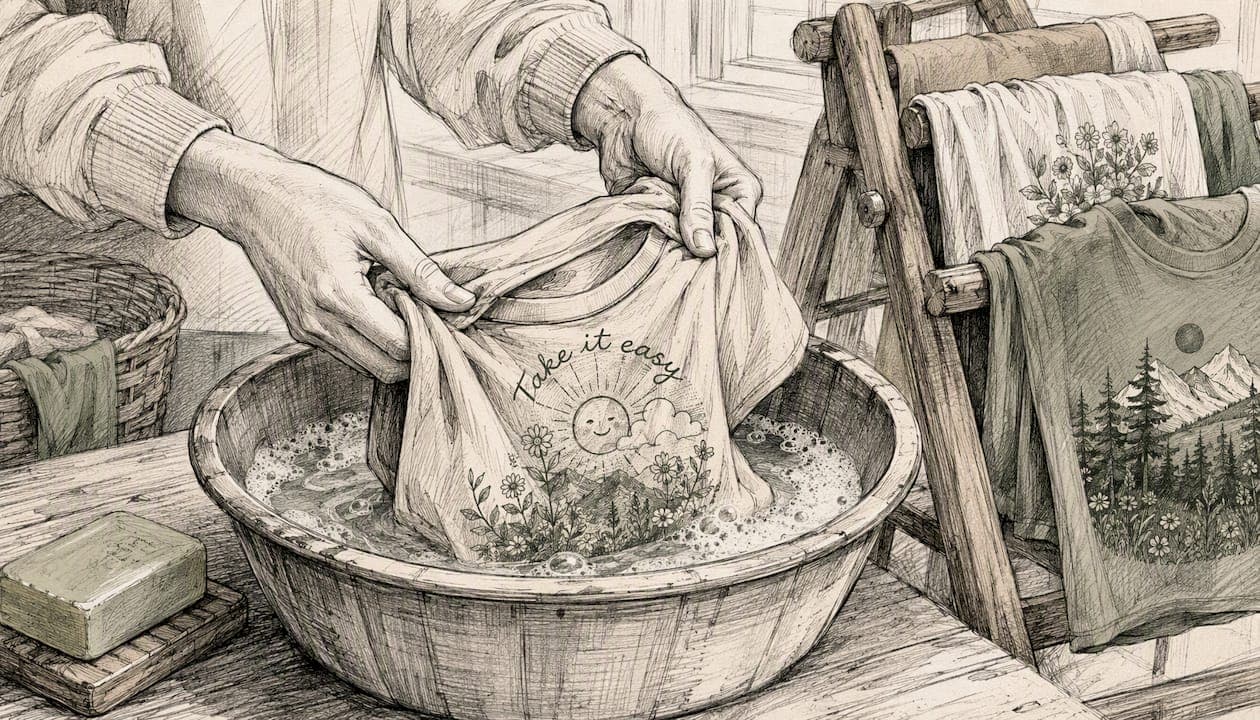
Turn your graphic tee inside out, wash it in cold water on a gentle cycle with a mild liquid detergent, and let it air-dry. That routine handles the majority of everyday washes without sacrificing print quality. Here's the short version you can use right now:
- Turn the shirt inside out before it touches water
- Use cold water only (below 86°F / 30°C)
- Select the gentle or delicate cycle
- Use a mild liquid detergent — no powder, no fabric softener
- Skip the dryer when you can; air-dry flat or on a hanger by the hem
- If you must use a dryer, pull the shirt out while it's still slightly damp
Hand washing is worth the extra five minutes for vintage tees, limited-edition prints, or any shirt with a transfer you're not sure was fully cured. For everything else, the machine routine above is safe when you follow it consistently.
Key Takeaways
Turning your graphic tee inside out and air-drying it after every cold, gentle-cycle wash is the single most effective routine for preserving print quality and extending the life of any printed garment.
| Point | Details |
|---|---|
| Inside out, every time | Flipping the shirt before washing cuts friction directly on the print surface. |
| Cold water only | Temperatures above 86°F soften plastisol and weaken DTF adhesives, accelerating cracking. |
| Air-dry over dryer | Heat is the primary cause of print failure; air-drying eliminates that risk entirely. |
| Mild liquid detergent | Powder detergents leave abrasive residue in cold washes; fabric softener degrades ink adhesion. |
| Hand wash for high-risk prints | Vintage, limited-edition, or under-cured transfers deserve hand washing and flat drying every time. |
Table of Contents
- How to wash graphic tees in a washing machine
- When hand washing is worth it
- Drying graphic tees without damaging the print
- Removing wrinkles safely: ironing and steaming
- Stain removal and bleach guidance
- How care changes by print type
- How often to wash and how to store your tees
- Common problems: cracking, peeling, and fading
- Why heat and friction damage prints
- What Skye actually recommends
- Ready to wear something worth protecting?
- Sources
How to wash graphic tees in a washing machine
Before you load anything, check the care label. Most graphic tees are 100% cotton or a cotton-poly blend, and the label will confirm the maximum safe temperature. If there's a "do not machine wash" symbol, believe it.
Pre-wash prep matters more than most people realize. Shake off any loose dirt or debris before the shirt goes in. If there's a fresh stain, treat it from the back of the fabric — pressing a stain remover through the back pushes the stain out rather than deeper into the print. Never scrub directly over the graphic.
Step-by-step machine settings
- Turn the shirt completely inside out. This puts the print face-away from other garments and the drum wall, cutting friction on the graphic significantly.
- Set the water temperature to cold. Hot water softens plastisol inks and weakens the adhesives used in DTF and HTV transfers. Cold means below 86°F / 30°C — most machines label this "cold" or "tap cold."
- Choose the gentle or delicate cycle. A normal or heavy-duty cycle spins faster and agitates harder, both of which accelerate surface abrasion on prints.
- Lower the spin speed if your machine allows it. Targeting under ~800 RPM reduces the mechanical stress on ink layers during the final spin.
- Add a small amount of mild liquid detergent. Powder detergents often don't dissolve fully in cold water, leaving abrasive residue that grinds against the print through the cycle. Skip fabric softener entirely — it coats fibers in a way that gradually breaks down ink adhesion.
- Don't overload the drum. A packed machine means garments rub against each other constantly. Wash graphic tees with similar colors and similar-weight items. Keep jeans, towels, and heavy denim out of the same load.
- Remove the shirt promptly when the cycle ends. Sitting damp in a drum creates creases that are hard to remove without heat, and heat is the last thing you want near a print.
Pro Tip: Place your graphic tee inside a mesh laundry bag before loading it. The bag acts as a physical barrier between the print and other garments, reducing garment-on-garment friction while still letting water and detergent circulate freely. It's especially useful for vinyl transfers and detailed multi-color screen prints.
A few small habits round out the machine routine:
- Zip up any zippers on other garments in the load — exposed zipper teeth are surprisingly abrasive
- Fasten buttons so they don't snag
- Don't wash a brand-new printed tee within the first 24 hours; fresh inks and adhesives need time to fully cure and set into the fabric before their first wash
When hand washing is worth it
Machine washing done right is safe for most graphic tees. Hand washing is the right call when the stakes are higher: a vintage screen print that's already showing wear, a limited-edition collaboration piece, or any shirt with an HTV or DTF transfer you suspect wasn't fully cured before it shipped.
Hand washing gives you complete control over agitation and temperature, which is exactly what a fragile print needs.
Exact hand-wash steps
- Fill a clean basin or sink with cool water. Not cold from the tap if your tap runs ice-cold in winter — room-temperature cool is fine.
- Add a small amount of mild liquid detergent. A teaspoon is enough for one shirt. Swirl it in before adding the garment.
- Submerge the shirt inside out and gently agitate it with your hands. Think of it as a slow squeeze-and-release motion rather than scrubbing. Thirty seconds of gentle movement is plenty.
- Let it soak for five to ten minutes if it's particularly soiled.
- Drain the basin and refill with clean cool water. Rinse by gently squeezing water through the fabric until no suds remain. Repeat if needed.
- Press the water out — never wring. Wringing twists the fabric and can crack or distort a print. Instead, press the shirt firmly against the side of the basin.
- Lay the shirt flat on a clean dry towel, roll the towel up with the shirt inside, and press down firmly. The towel absorbs most of the remaining moisture without any mechanical stress on the print.
- Unroll and lay flat to finish drying.
Pro Tip: For spot-treating a stain on a delicate print, apply a small drop of mild liquid detergent directly to the stained area on the reverse side of the fabric. Work it in gently with a soft cloth, then rinse. This approach keeps the treatment away from the print surface entirely.
Drying graphic tees without damaging the print
Heat is the primary enemy of printed graphics, and the dryer is where most print damage actually happens. Air-drying is the single most effective preservation strategy you can adopt.
- Flat drying is the gold standard. Lay the shirt face-down on a clean dry surface or a drying rack. This avoids shoulder bumps from hangers and keeps the print from stretching under its own weight while wet.
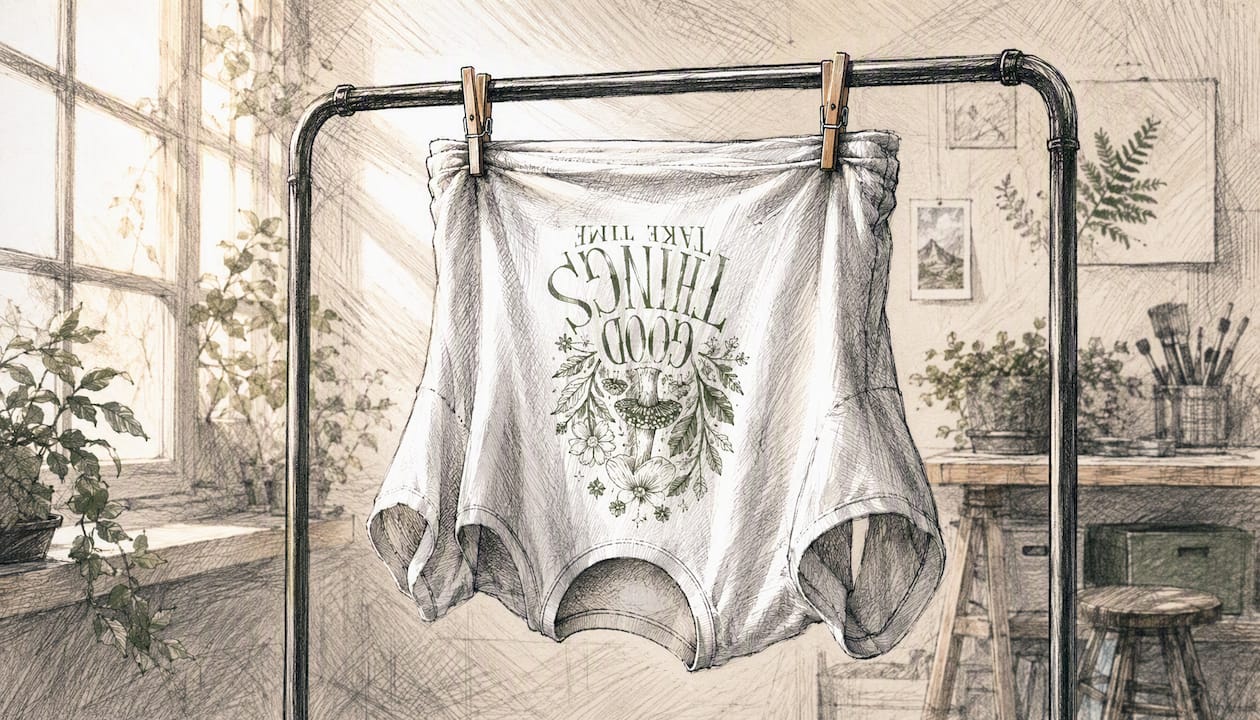
- Hanging by the hem is a solid alternative when flat space is limited. Clip the shirt at the bottom hem rather than draping it over a hanger at the shoulders. Shoulder bumps from a standard hanger are permanent on knit fabrics.
- Avoid direct sunlight. UV exposure fades pigment-based inks over time, particularly water-based and DTG prints. Dry indoors or in open shade.
- Keep it away from radiators and heat vents. Concentrated heat from a nearby source does the same damage as a hot dryer — it softens adhesives and makes ink brittle.
- Flat-dry is mandatory for hoodies and heavy sweatshirts. The extra water weight increases friction during movement, and arranging the hood so moisture can drain prevents moisture from pooling against the print.
If you genuinely need the dryer — say, you need the shirt in an hour — use the lowest heat setting available, or better yet, the air-only/no-heat cycle. Remove the shirt while it's still slightly damp and finish it flat. That last bit of drying at room temperature costs you nothing and saves the print from the most damaging phase of the heat cycle.
Pro Tip: Hang your tee by the hem using two clips or a clip hanger at the bottom edge. The shirt dries evenly, the print faces inward away from air currents, and you avoid the stretched-shoulder look that's impossible to fix once it sets.
Removing wrinkles safely: ironing and steaming
The rule here is simple: never let a hot iron touch the print directly. Plastisol and vinyl melt. DTF adhesives soften and stick. Even a brief contact at medium heat can permanently distort a graphic.
Safe ironing technique:
- Turn the shirt inside out completely
- Set the iron to its lowest heat setting
- Iron on the reverse side of the fabric, moving the iron away from any area where the print sits
- If you need to iron near the print area, place a pressing cloth or a thin cotton towel between the iron and the fabric as an extra buffer
Steaming is gentler than a dry iron, but it still requires care:
- Use a vertical steamer and hold it a few inches from the fabric
- Work from the inside of the shirt, not the outside
- Never aim steam directly at an HTV or vinyl graphic — the heat and moisture together can lift edges and cause bubbling
Pro Tip: If your shirt has a large chest graphic and you need to smooth the fabric around it, hang it in the bathroom while you shower. The ambient steam relaxes wrinkles without any direct heat contact.
Stain removal and bleach guidance
Act fast when something spills. The longer a stain sits, the more likely you are to need aggressive treatment — and aggressive treatment and graphic prints don't coexist well.
- Blot immediately. Use a clean cloth to absorb as much of the stain as possible. Don't rub — rubbing spreads the stain and pushes it deeper into the fibers.
- Treat from the back. Apply your stain remover to the reverse side of the fabric so it pushes the stain out through the front rather than through the print.
- Test first. Before applying any product near a graphic, test it on a hidden area — inside the hem or under the collar — and wait a few minutes to check for color change or ink lift.
- Safe options: mild liquid detergent, diluted white vinegar (one part vinegar to two parts water), or a gentle enzyme-based stain remover. OxiClean Free (the fragrance-free, dye-free version) is a reasonable oxygen-based option when used away from the print and rinsed thoroughly.
- Chlorine bleach is off the table. It degrades inks and adhesives across every print type — screen print, HTV, DTF, and DTG. Use oxygen-based, color-safe alternatives instead, and always spot-test before applying anywhere near the graphic.
- Solvent-based cleaners (acetone, nail polish remover, dry-cleaning solvents) can dissolve the inks themselves. If a stain is bad enough that you're considering a solvent, take the shirt to a professional dry cleaner and tell them about the print type.
Pro Tip: For a set-in stain, soak the affected area (from the back) in a diluted enzyme detergent solution for 20–30 minutes before washing. Enzyme cleaners break down protein and oil stains without the abrasive action that harms prints. Rinse thoroughly before the main wash.
How care changes by print type
The cold-gentle-air-dry baseline is safe for every print type. Where things diverge is in the specific vulnerabilities of each method.
Screen print and plastisol are the most common print types on retail tees. Plastisol ink sits on top of the fabric rather than bonding into it, which makes it sensitive to heat and prone to cracking when the ink layer becomes brittle. Cold water and air-drying are non-negotiable.
Water-based inks bond more deeply into the fabric and feel softer, but they're more sensitive to harsh detergents and repeated washing. Use the mildest detergent you can find and avoid any product with optical brighteners.
DTG prints look and feel almost like part of the fabric. They hold up reasonably well but are sensitive to strong detergents and high spin speeds. A mesh laundry bag adds meaningful protection here.
DTF transfers use a heat-activated adhesive film. That adhesive softens again under heat, which means dryer heat and direct ironing are the two fastest ways to ruin a DTF print. Air-dry only.
HTV and vinyl are prone to edge lifting when exposed to heat and friction. Wash inside out, skip the dryer entirely, and never iron anywhere near the transfer.
Key do's and don'ts by print type:
- Screen print: do air-dry; don't use hot water or a hot dryer
- Water-based: do use fragrance-free mild detergent; don't use optical brighteners or enzyme cleaners near the print
- DTG: do use a mesh bag; don't use powder detergent or high spin
- DTF: do air-dry flat; don't iron the print side under any circumstances
- HTV/vinyl: do wash inside out every time; don't expose to dryer heat or steam on the print surface
How often to wash and how to store your tees
Over-washing accelerates print wear more than most people expect. Every wash cycle adds friction and chemical exposure to the ink layer. The fewer washes, the longer the print lasts.
A practical rule: wash after one to two wears depending on activity. A tee worn for a few hours of light activity can air out overnight and go back in the drawer. A tee worn during a full day of physical work needs a wash. Airing out between wears is one of the most underrated preservation habits.
Storage choices matter too:
- Fold, don't hang. Long-term hanging stretches knit fabric at the shoulders and puts constant tension on any graphic across the chest. Fold graphic tees with the print facing inward.
- Don't stack heavy items on top. A stack of jeans or thick hoodies pressing down on a folded graphic tee can cause the ink to transfer or crack along fold lines over time.
- Avoid damp or humid storage. Moisture trapped in a drawer or bin encourages mildew, which can degrade both the fabric and the print.
For seasonal storage:
- Wash before storing — never store a tee with body oils or stains on it, as they set permanently over months
- Fold inside out and place in a breathable cotton bag or a clean pillowcase
- Keep away from direct light sources, which fade pigment-based inks even through fabric
- Check on stored items every few months if they'll be packed away for a full season
For Sincerely Skye tees specifically, check the care label on each product — some collaboration and seasonal pieces use print methods that benefit from extra caution.
Common problems: cracking, peeling, and fading
Most print failures trace back to one of three causes: heat damage, chemical degradation, or an under-cured print that was never going to last.
Cracking usually means the ink layer dried out and became brittle. Heat is almost always the culprit — either repeated dryer cycles or hot water over time. Once cracking starts, you can slow it but not reverse it. Going forward, air-dry only and avoid any heat source.
Peeling is more common with HTV, vinyl, and DTF transfers. It typically means the adhesive bond failed, either from heat softening it repeatedly or from the edges lifting due to friction. Small lifted edges on HTV can sometimes be re-pressed at home with a household iron set to low heat, using a pressing cloth between the iron and the transfer. Press for 10–15 seconds with firm pressure, then let it cool completely before touching it. Larger peeling areas or DTF failures usually need professional re-pressing or replacement.
Fading happens gradually and is harder to diagnose. Repeated washing, detergent buildup, UV exposure, and high dryer heat all contribute. Water-based and DTG prints tend to fade faster than plastisol. If fading is happening faster than expected, the most likely causes are hot water, a detergent with optical brighteners, or too-frequent washing.
- Don't try to "fix" cracking with heat — applying an iron directly to a cracked plastisol print usually makes it worse
- Don't use fabric paint to touch up a faded graphic unless you're comfortable with the result looking hand-painted
- For irreplaceable or limited-edition prints, treat them as hand-wash-only from day one — don't wait for damage to appear
Pro Tip: If you notice early-stage cracking on a plastisol print, switch to hand washing immediately and air-dry flat every time. The cracking won't heal, but you can stop it from spreading for many more wears.
Why heat and friction damage prints
Heat and friction don't just wear a print down gradually — they attack it through two distinct mechanisms that compound each other.
Heat softens thermoplastic materials. Plastisol ink is essentially a PVC-based compound that stays flexible at room temperature but becomes pliable again when heated. Every time a plastisol print goes through a hot dryer, the ink layer softens slightly, becomes more vulnerable to mechanical stress, and then re-hardens in a slightly more brittle state. DTF adhesives behave similarly — the heat-activated film that bonds the transfer to the fabric can re-activate under dryer heat, weakening the bond at the edges. High dryer heat and hot water soften ink and weaken adhesives, which is why cracking and peeling are almost always heat-related.
Friction does the mechanical damage. Inside a washing machine drum, garments tumble against each other and against the drum surface. Each contact point abrades the top surface of the ink layer, removing microscopic amounts of pigment. On its own, this is slow. Combined with heat-softened ink, it's dramatically faster — softened ink is more vulnerable to abrasion, so the two forces together are far more destructive than either alone.
Air-drying eliminates the heat variable entirely, which is why industry guidance consistently identifies it as the single most effective preservation strategy.
What Skye actually recommends
The care steps in this guide aren't theoretical. They reflect the same conservative approach Sincerelyskye uses for every craft-inspired tee and hoodie in the collection — because a print that cracks after five washes isn't a print worth wearing.
The honest truth about graphic tee care is that most people skip the inside-out step and use whatever detergent is already in the laundry room. Those two habits alone account for the majority of premature print failures. The fix is genuinely simple: flip it, wash cold, skip the dryer when you can. That's it.
For Sincerelyskye pieces — whether it's the Craft Now, Clean Later Tee or a seasonal collaboration drop — check the care label on each item. Some prints benefit from extra caution, and the label will tell you when that's the case.
Ready to wear something worth protecting?
If you're going to follow these care steps, you might as well start with a tee that deserves them. Sincerelyskye's craft-inspired graphic tees are designed for makers, crafters, and anyone who takes their hobby seriously — printed with the kind of detail that holds up when you treat it right.
The Craft Now, Clean Later V-Neck Tee is a fan favorite, and the Sincerely Skye Gear collection has seasonal and collaboration pieces worth adding to your rotation. For oversized styles that need the flat-dry treatment, the Statement Oversized T-Shirt from MR. HAPPINESS is worth a look too.
Sources
- How to Wash Screen Printed T-Shirts — Printable Press
- How to Wash Graphic Tees
- How to Wash Graphic Tees (Complete Care Guide) | Alpha Print
- How To Wash Graphic Tees | A Detailed Guide — Ninja Transfers
- How to Wash Printed Tees and Hoodies Without Fading — Lone Creek Apparel