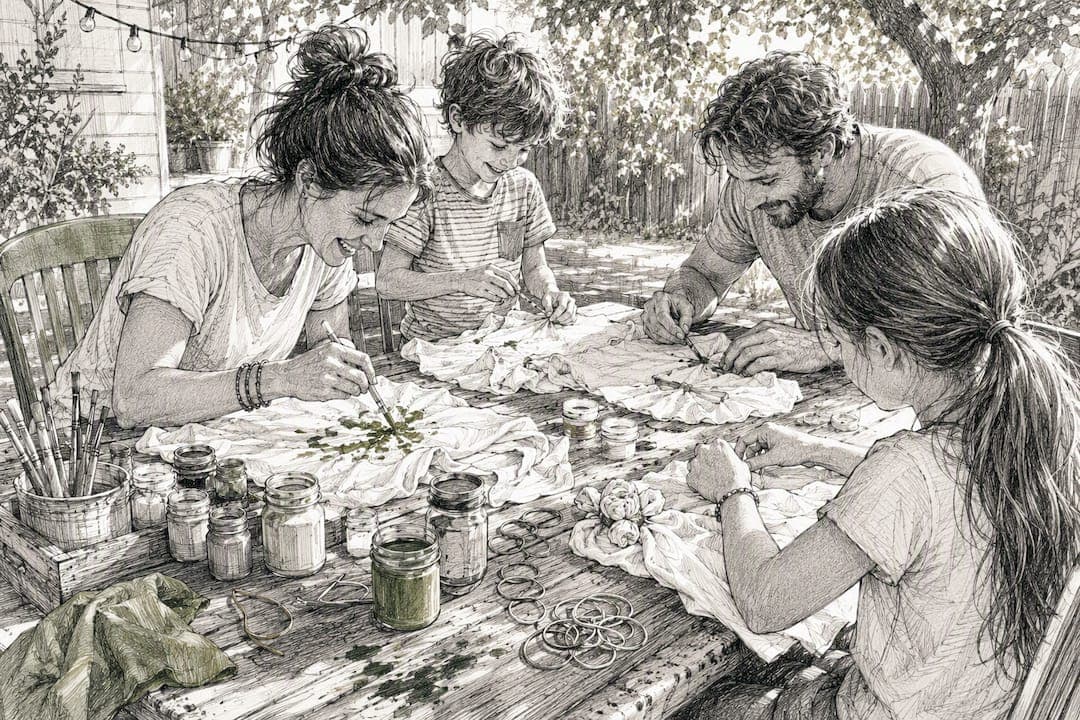
The fastest, lowest-mess matching craft shirt ideas are tie-dye, stenciled or iron-on (HTV) sets, and Sharpie or alcohol-ink doodles. Each one finishes in under an hour, works for toddlers through grandparents, and produces shirts people actually keep wearing after the photos are taken.
- Tie-dye: messiest option, the best outdoors, works for kids age 4 and up with supervision.
- HTV or stenciled sets: cleanest and most precise, needs a heat source, best for school-age kids and teens who can wait through a press cycle.
- Sharpie or alcohol ink: zero heat, zero water, the easiest option for a rainy afternoon with a toddler.
Pro Tip: Pick one method per session. Mixing wet dye and hot iron-on in the same sitting doubles your cleanup and your stress.
A reusable supplies kit built once, used repeatedly, is what actually makes matching-shirt crafting sustainable for busy families.
Key Takeaways
Matching craft shirts work best when families pick one low-mess technique, build a reusable supply kit, and coordinate through color and theme rather than identical prints.
| Point | Details |
|---|---|
| Start with the easiest method | Tie-dye, HTV, or Sharpie doodles all finish in under an hour with minimal cleanup. |
| Build a reusable kit once | A heat source, cutting tools, and basic dye or paint cover most future projects. |
| Coordinate, don't clone | Shared palettes and call-and-response text keep shirts wearable after the event. |
| Respect cure times | Wait the label's full drying time before the first wash to prevent peeling. |
| Buy the adult piece if needed | Sincerely Skye's Craft Now, Clean Later Tee pairs with a kid-made shirt for quick photo-ready matching. |
Table of Contents
- 12 Easy Matching T-Shirt Craft Ideas
- Supplies to Buy Once and Recommended Shirts
- Step-by-Step Mini Tutorials for 6 Popular Projects
- How to Coordinate Matching Shirts Without Making Them Identical
- Washing and Care So Your Matching Shirts Last
- Kid-Friendly Safety, Setup, and Cleanup Tips
- Why Matching Shirts Are Worth the Effort
- Ready-Made Option if You're Short on Time
- Sources
12 Easy Matching T-Shirt Craft Ideas
Pick a project based on how much time you have and how many hands are helping. Here's a working menu:
- Classic spiral tie-dye — swirled rainbow pattern, no two shirts identical. Kid+adult, 30–45 minutes plus dye time.
- Dip or ombre dye — one end fades into color, clean and modern. Kid+adult, 20-30 minutes.
- Call-and-response text sets — "The Boss" and "The Backup," printed in matching fonts. Teen+adult, 30 minutes with HTV.
- Scaled silhouette sets — same graphic, sized up or down per shirt. Teen+adult, 45 minutes.
- Sharpie alcohol ink shirts — dots bloom into tie-dye-like patterns with rubbing alcohol. Kid, 20-30 minutes.
- Stamped or stenciled shirts — repeatable shapes in two colors. Kid, 30-45 minutes.
- Handprint or family-name paint shirts — a keepsake project more than a design project. Kid, 20 minutes plus drying.
- Pocket-swap upcycle — sew or fuse a contrasting pocket onto plain tees for a subtle matching detail. Teen+adult, 1 hour.
- HTV cut files — vinyl designs cut on a machine, pressed on. Teen+adult, 20 minutes per shirt once the file is ready.
- Iron-on photo transfers — a printed image pressed directly onto fabric. Kid+adult, 30 minutes.
- Bleach-resist designs — a stencil and diluted bleach create a reverse print on dark shirts. Teen+adult, 45 minutes, ventilated space required.
- Coordinated color-blocking — same-colored sleeves or hems sewn or fused across a family set. Adult, 1-2 hours.
Supplies to Buy Once and Recommended Shirts
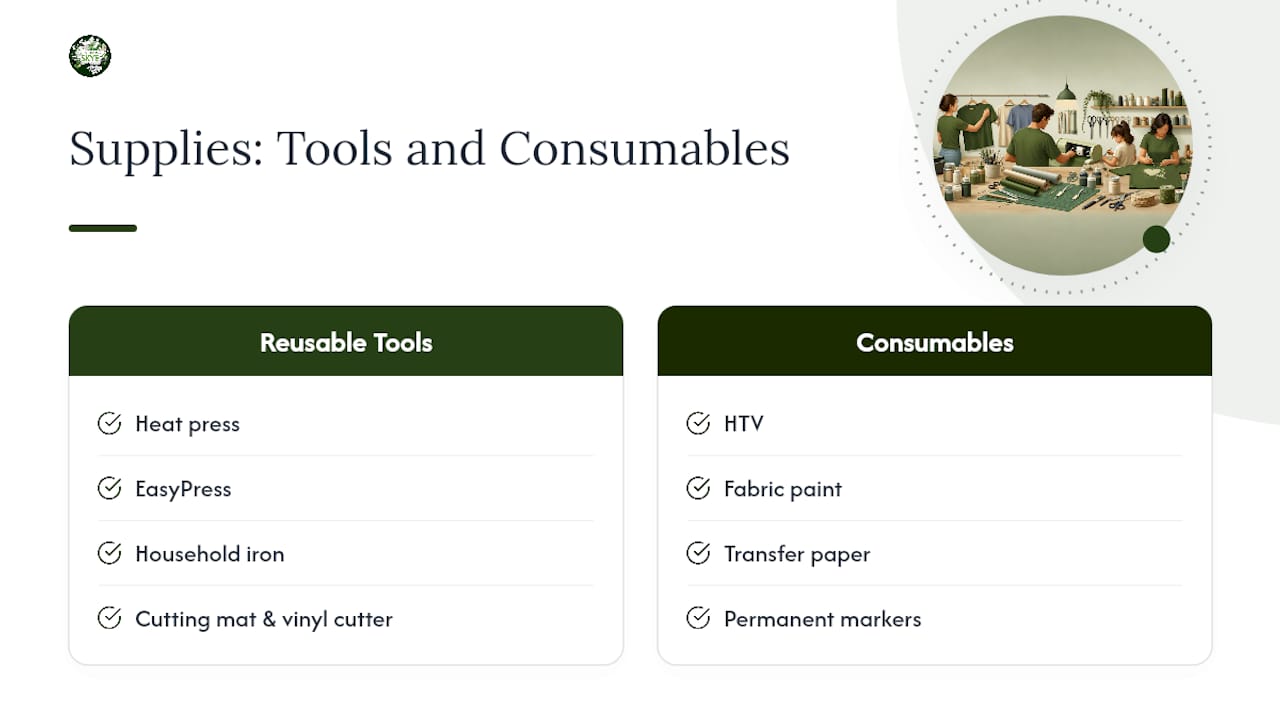
Stock a small kit once and every future project gets easier. Reusable tools: a heat press, EasyPress, or household iron; a cutting mat and machine if you're doing vinyl; a weeding tool; painter's tape; cardboard inserts to protect shirt backs. Consumables: HTV, fabric paint, transfer paper, permanent markers, textile medium, dye, and rubber stamps.
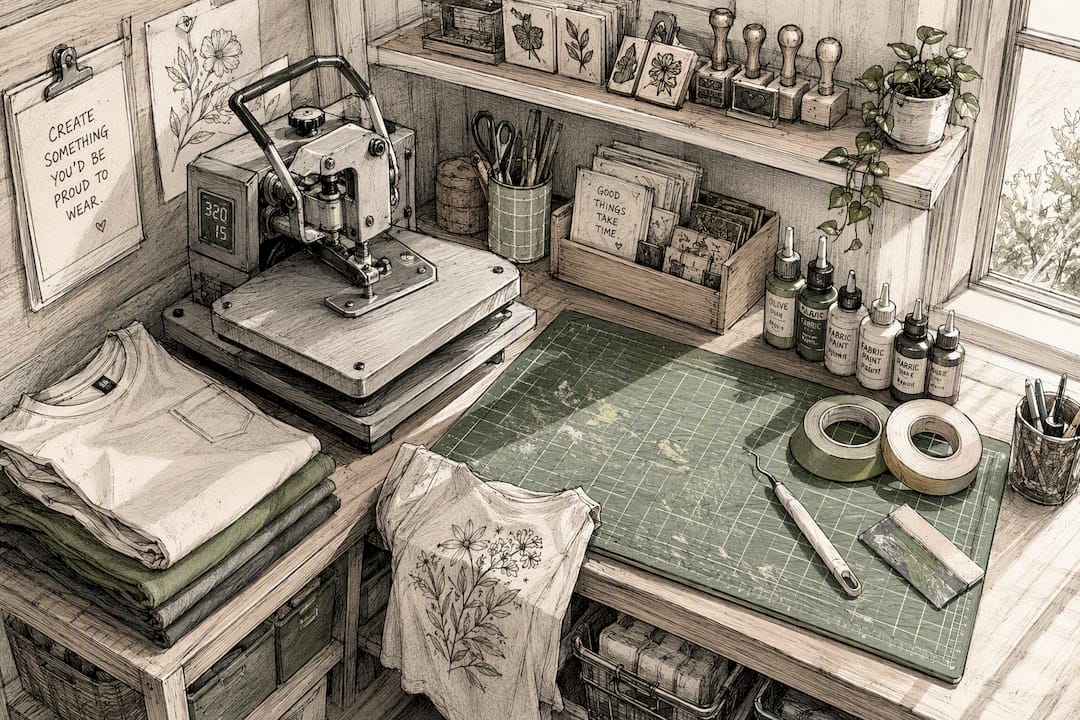
For shirts, ring-spun cotton and garment-dyed tees hold paint and vinyl better than shiny poly blends, and they stay comfortable through a long booth day. Toddler sizes have a smaller usable print area, so scale designs down rather than cropping them.
Pro Tip: Prewash every shirt in cold water with no fabric softener. Softener coats fibers and causes HTV to peel within a few washes.
Costs run low for paint or dye projects and increase moderately when adding vinyl and pressing.
Step-by-Step Mini Tutorials for 6 Popular Projects
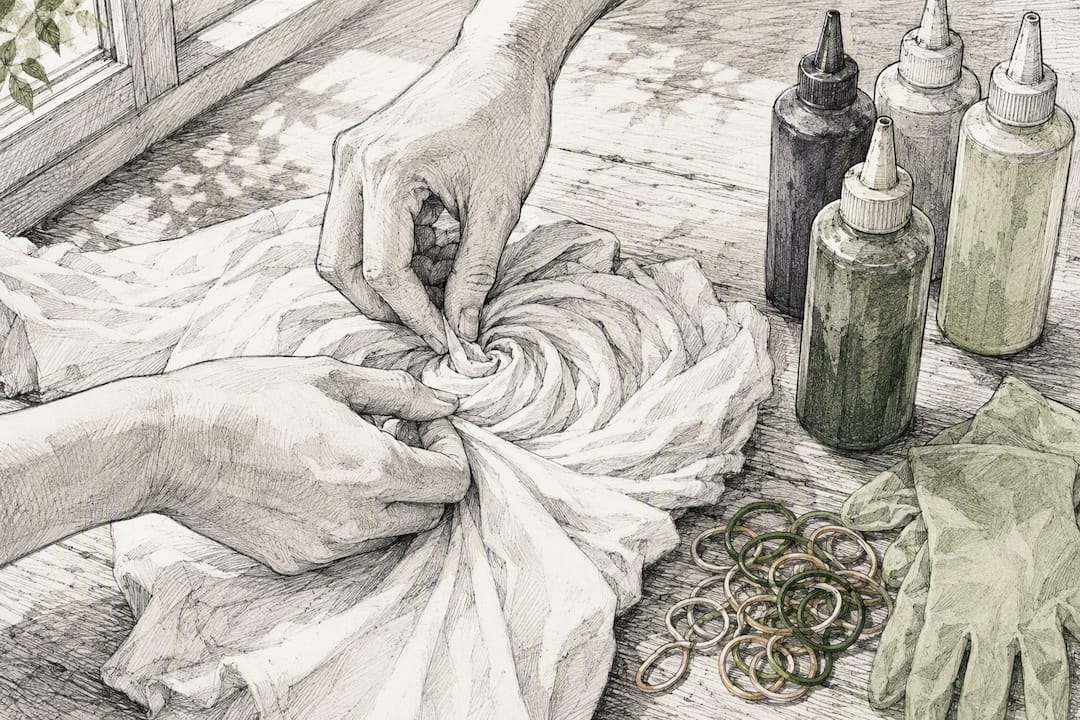
1. Classic spiral tie-dye. Prep: rubber bands, dye, gloves, plastic sheeting. Steps: wet the shirt, pinch the center and twist into a spiral, secure with 4-6 rubber bands, apply dye section by section, bag it for 6-8 hours, rinse until clear, wash separately. Time: 30 minutes active, hours of setting. Easy. Kid+adult. Variation: two-color dye for a bolder look. Quality tip: wear gloves the whole time, dye stains skin fast.
2. Simple dip or ombre dye. Prep: dye bucket, clothespins, plastic drop cloth. Steps: mix dye, dip the bottom third of the shirt, hold for a count of 20, dip a smaller section again for depth, hang to drip, rinse, wash. Time: 20 minutes. Easy. Kid+adult. Variation: two-tone dip using both ends of the shirt.
3. HTV call-and-response set. Prep: design file, HTV sheets, cutting machine, heat press. Steps: mirror the design before cutting, cut and weed the vinyl, position with painter's tape, protect with cardboard inside the shirt, press per the vinyl's time and temperature, peel carrier while warm. Time: under 20 minutes per shirt once files are ready, per one Cricut-based tutorial. Moderate. Teen+adult. Variation: swap in glow-in-the-dark HTV for a seasonal twist. Quality tip: mirroring is the single most common mistake, always double-check before cutting.
4. Sharpie or alcohol ink doodles. Prep: permanent markers, rubbing alcohol, dropper, cardboard barrier. Steps: draw dots in a cluster, drip alcohol onto the dots, watch the ink bloom outward, let dry fully, heat-set with a dry iron on the reverse side. Time: 20 minutes plus drying. Easy. Kid. Variation: write initials first, then bloom ink around them.
5. Stamped or stenciled two-color designs. Prep: stencils or stamps, fabric paint, textile medium, cardboard insert. Steps: tape the stencil down, dab paint (don't brush, it bleeds under edges), lift carefully, let dry, repeat in a second color once the first is dry. Time: 30-45 minutes. Easy. Kid. Variation: alternate stencil placement per shirt for a coordinated rather than identical look.
6. Handprint or family-name painted shirts. Prep: washable fabric paint, cardboard insert, wet wipes nearby. Steps: paint the palm, press firmly onto the shirt, lift straight up, add names or dates once dry, heat-set per paint instructions. Time: 20 minutes plus drying. Easy. Kid.
Pro Tip: For any multi-color HTV design, tack each layer for just a few seconds before adding the next, then do one full-length final press on the whole stack. Overheating already-set vinyl is what causes bubbling later.
How to Coordinate Matching Shirts Without Making Them Identical
The best matching sets share a palette, a typography style, or a motif, not a carbon-copy print, so each shirt still gets worn on its own after the event. Call-and-response phrasing works especially well for this. For example, one shirt might say "The Original," and the next says "The Remix."
Three rules keep it visually clean: use high contrast so designs read from 5 to 10 feet away, cap the palette at one or two colors so photos don't compete for attention, and scale graphics up or down depending on shirt size instead of using one fixed dimension for every family member.
Pro Tip: A neutral shirt base (white, heather gray, black) lets seasonal graphics pop without buying new blanks every quarter. Skip trademarked characters or logos unless you have licensing rights. Original graphics hold up better anyway.
Washing and Care So Your Matching Shirts Last
Wait the full drying and curing time your paint or vinyl label recommends before the first wash. Peeling and cracking almost always trace back to skipping that step, not a bad craft technique.
Turn shirts inside out, wash cold on gentle, and air dry or tumble on low. Skip fabric softener on anything with HTV; it breaks down the adhesive over time.
- Do not bleach unless you're intentionally doing a bleach-resist design.
- Do not dry-clean HTV pieces.
- Do not iron directly on top of HTV carrier sheet; always iron from the inside if at all.
If you're prepping a large batch for a fair or family event, wash and dry one test shirt first before committing the whole run.
Kid-Friendly Safety, Setup, and Cleanup Tips
Use non-toxic, washable fabric paints, and keep any adult on heat-press or iron duty exclusively. Set up on a tarp or flattened cardboard so spills don't reach carpet or furniture, and hand younger kids child-safe scissors and washable markers instead of permanent ones.
For cleanup, keep wet wipes within reach, a bucket for rinsing brushes, and split the project into an assembly line so each child owns one repeatable step.
Pro Tip: Move wet processes like dye and paint outdoors or onto a disposable tablecloth, and assign the one hot-press step to a single adult so nobody's reaching near it mid-craft.
Why Matching Shirts Are Worth the Effort
A matching shirt does something a solo outfit can't: it turns a random Saturday into a memory with a visual anchor, whether that's a family photo, a booth full of vendors, or a kid's first craft fair table. I've watched a two-color call-and-response set do more for booth recognition than a banner ever could. Sincerely Skye builds craft-focused apparel for exactly this kind of moment, comfortable enough for a full day of crafting and sincere enough to feel like it belongs to your table. Try the quick DIY version first. Buy the finished piece when you're out of time.
Ready-Made Option if You're Short on Time
Not every week has room for dye buckets and drying racks, and that's exactly where a shop-ready piece earns its spot. The Craft Now, Clean Later Tee gives you a comfortable, craft-branded adult shirt you can pair with a kid-made handprint tee for photos, no pressing or curing required on your end.
If you're outfitting a whole booth or vendor table, the Sincerely Crafters collection covers hoodies and sweatshirts alongside tees, useful for cooler market days when a single tee won't cut it. Browsing craft fair display tips alongside your outfit planning helps your whole setup look intentional, not thrown together. Pick one piece, add it to your cart, and let it be the adult half of your next matching set.
Sources
- Easy Cricut Matching Shirts for Father's Day - just being jessica
- Father Son Matching Shirts - Design Ideas for POD | Merch Titans | Merch Titans